How to create a Django Application using Cookiecutter

The Django Cookiecutter created by Pydanny allow us to create a Django application with a great structure and best practices in no time.
The official repository is located at: https://github.com/pydanny/cookiecutter-django
Even though, the documentation is clear, I want to show you the whole process:
Install the cookiecutter
Being in your python environment, you can install it using pip:
pip install cookiecutter
Having this, now you need to locate in the folder where you want to create your project, and inside this, execute the command:
cookiecutter https://github.com/pydanny/cookiecutter-django.git
In this point you will have some questions:
You've downloaded /Users/andres/.cookiecutters/cookiecutter-django before. Is it okay to delete and re-download it? [yes]: yes
project_name [My Awesome Project]: Example App
project_slug [example_app]: django_example
description [Behold My Awesome Project!]: This is my description
author_name [Daniel Roy Greenfeld]: Andres
domain_name [example.com]:
email [[email protected]]:
version [0.1.0]:
Select open_source_license:
1 - MIT
2 - BSD
3 - GPLv3
4 - Apache Software License 2.0
5 - Not open source
Choose from 1, 2, 3, 4, 5 (1, 2, 3, 4, 5) [1]: 5
timezone [UTC]:
windows [n]:
use_pycharm [n]:
use_docker [n]:
Select postgresql_version:
1 - 10.5
2 - 10.4
3 - 10.3
4 - 10.2
5 - 10.1
6 - 9.6
7 - 9.5
8 - 9.4
9 - 9.3
Choose from 1, 2, 3, 4, 5, 6, 7, 8, 9 (1, 2, 3, 4, 5, 6, 7, 8, 9) [1]: 1
Select js_task_runner:
1 - None
2 - Gulp
Choose from 1, 2 (1, 2) [1]: 1
custom_bootstrap_compilation [n]: y
use_compressor [n]:
use_celery [n]:
use_mailhog [n]:
use_sentry [n]:
use_whitenoise [n]:
use_heroku [n]:
use_travisci [n]:
keep_local_envs_in_vcs [y]: n
debug [n]:
 [SUCCESS]: Project initialized, keep up the good work!
Now you have a folder with your new project!
But wait. We are not done.
If we try to run migrations, we are going to get an error about a non-existing Database. So you now need to configure the DB.
Configure Postgres Database
Yes, It comes with Postgres by default, and you can change it, but definitively It’s always better to use Postgres.
Let’s prepare the Database by running the postgres shell:
psql postgres
I’m going to create a database example, with an user example_user, and as password i will use ‘password’.
-- Create the database project
CREATE DATABASE example;

-- Create user for database
CREATE ROLE example_user
WITH LOGIN ENCRYPTED PASSWORD 'password'
CREATEDB;

-- Grant privileges to the user to access database
GRANT ALL PRIVILEGES ON DATABASE example
TO example_user;
In this point we should have an empty database working with the specified user.
Now we need to tell Django the information of my database. To do it, you need to define an environment variable DATABASE_URL using the Django convention:
If you are under a Unix environment. The following command does the job:
export DATABASE_URL=postgres://example_user:password@localhost:5432/example
Go to the created folder, and install python requirements:
cd django_example
pip install -r requirements/local.txt
After this, you should be able to run Django migrations with no problem:
python manage.py migrate
You should get something like this:
python manage.py migrate
Operations to perform:
  Apply all migrations: account, admin, auth, contenttypes, sessions, sites, socialaccount, users
Running migrations:
  Applying contenttypes.0001_initial... OK
  Applying contenttypes.0002_remove_content_type_name... OK
  Applying auth.0001_initial... OK
  Applying auth.0002_alter_permission_name_max_length... OK
  Applying auth.0003_alter_user_email_max_length... OK
  Applying auth.0004_alter_user_username_opts... OK
  Applying auth.0005_alter_user_last_login_null... OK
  Applying auth.0006_require_contenttypes_0002... OK
  Applying auth.0007_alter_validators_add_error_messages... OK
  Applying auth.0008_alter_user_username_max_length... OK
  Applying users.0001_initial... OK
  Applying account.0001_initial... OK
  Applying account.0002_email_max_length... OK
  Applying admin.0001_initial... OK
  Applying admin.0002_logentry_remove_auto_add... OK
  Applying auth.0009_alter_user_last_name_max_length... OK
  Applying sessions.0001_initial... OK
  Applying sites.0001_initial... OK
  Applying sites.0002_alter_domain_unique... OK
  Applying sites.0003_set_site_domain_and_name... OK
  Applying socialaccount.0001_initial... OK
  Applying socialaccount.0002_token_max_lengths... OK
  Applying socialaccount.0003_extra_data_default_dict... OK
And if you got something like this, let’s run the server!
python manage.py runserver
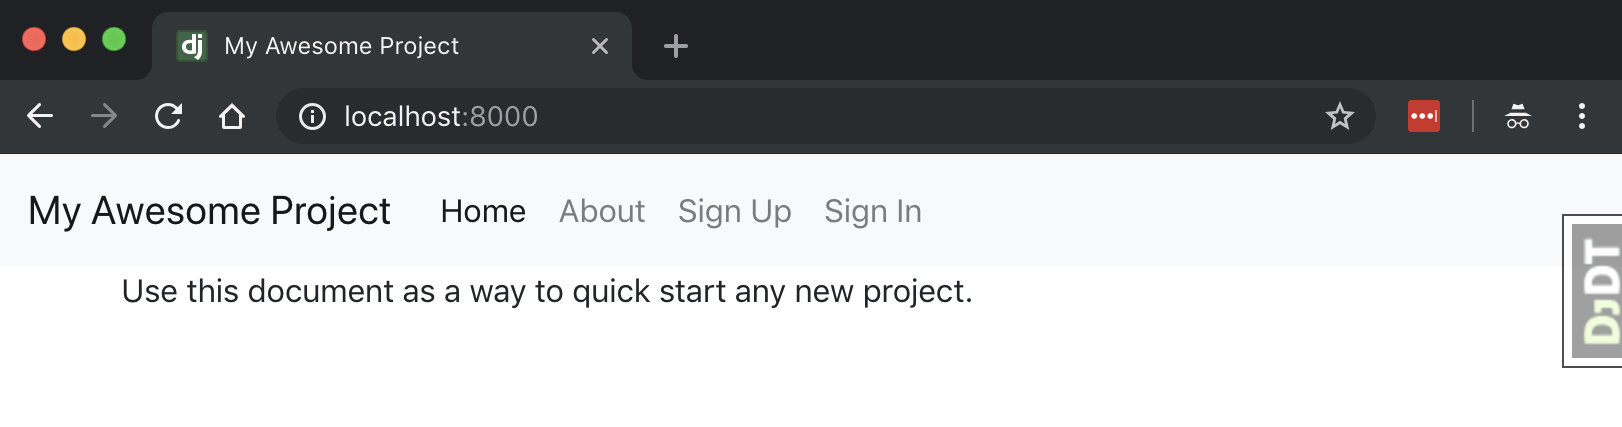
And a beautiful starter page should be displayed:
Enjoy!
If you want to create a new project and don’t know how to start, contact us.
Related post
Our website is powered by Django and Amazon Web Services, and yours?
Rename files in Bash with Regular expressions