Nowadays, one of the most popular ways to create a wordpress site is to use a page builder. It is so popular that wordpress 5.0 comes with one by default, Gutenberg. With a page builder, you avoid coding several templates for your wordpress theme; you just have to create them like solving a puzzle, dragging different boxes until your page looks like you want it to look. Thanks to this approach, you may create your site even if you do not code at all. It is not a perfect approach and it has several issues, for example a page may take a lot of time to load depending on its content so you would need to use a cache, but it is definitely a time saving approach.
One page builder we have used on several sites is Beaver Builder. It is neat, powerful, easy to learn and to understand and, more important, highly customizable. This is the main reason we have been using it a lot; it allows to modify its different modules or even to create your own, depending on your needs. Thanks to this, we have been able to implement incredible designs with (almost) no effort.
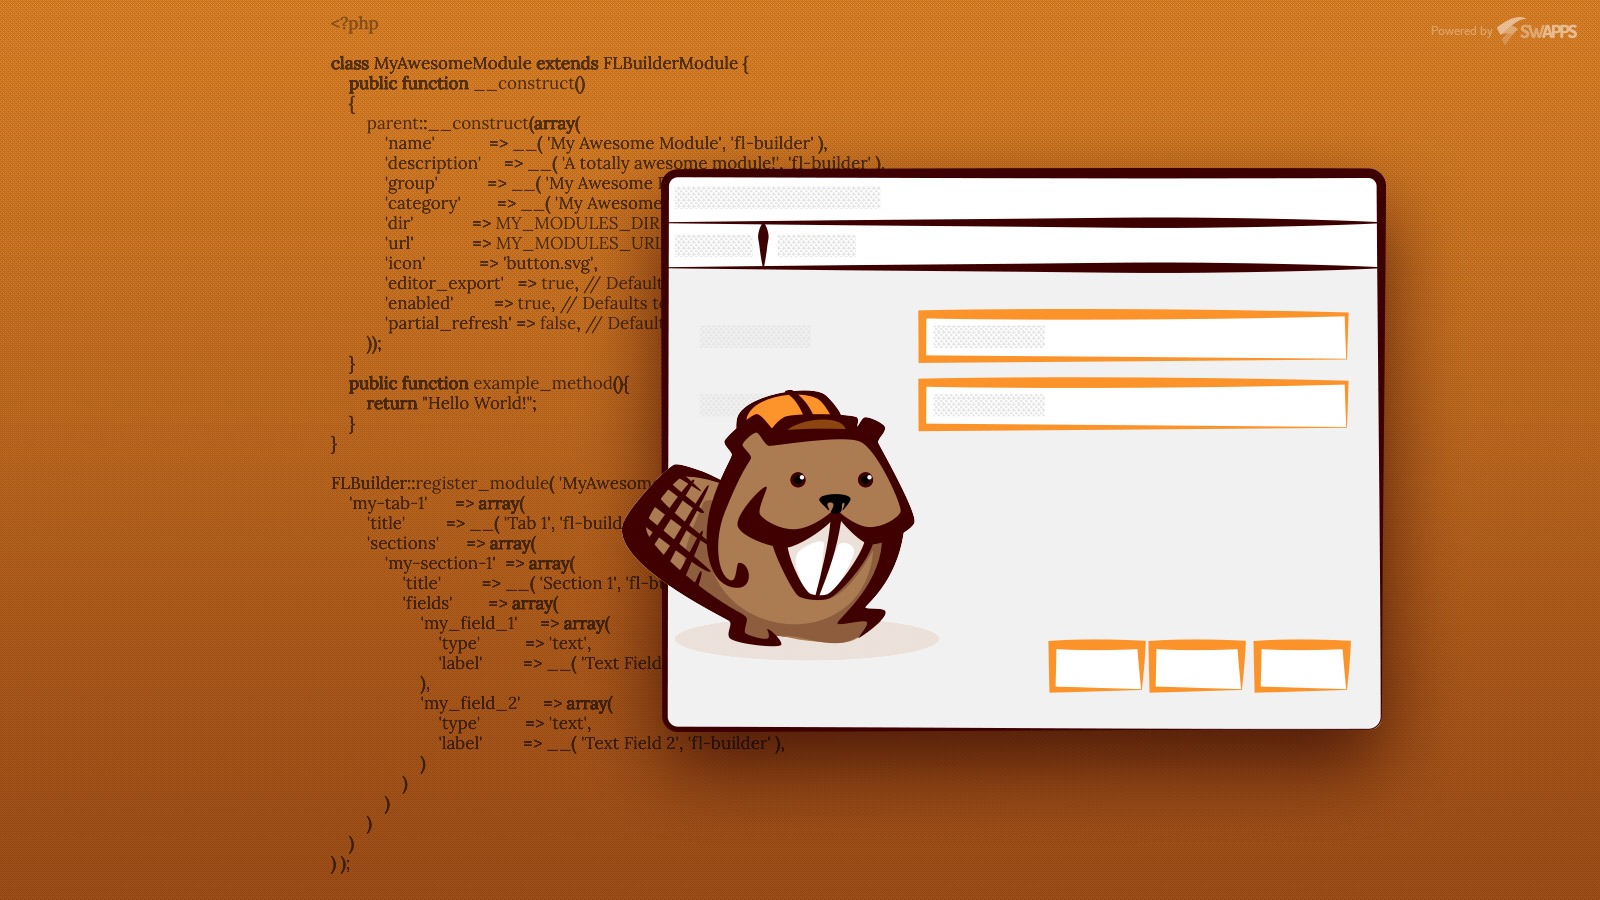
Creating the custom module
To start, Beaver Builder recommends to create a plugin to manage your new custom modules. This way, you may reuse them in all of your projects with no effort. As well, you avoid conflicts with other beaver builder addons or with the page builder itself.
So, Let’s create a plugin called My Awesome Plugin adding a new file wp-content/plugins/my awesome plugin/my-awesome-plugin.php. There, you should add this code
/**
 * Plugin Name: My Awesome Plugin
 * Plugin URI: http://www.myawesomeplugin.com
 * Description: Custom modules for the Beaver Builder Plugin.
 * Version: 1.0
 * Author: Swapps
 * Author URI: https://swapps.com/
 */
define( 'MY_MODULES_DIR', plugin_dir_path( __FILE__ ) );
define( 'MY_MODULES_URL', plugins_url( '/', __FILE__ ) );
function my_load_module_examples() {
    if ( class_exists( 'FLBuilder' ) ) {
        // Include your custom modules here.
        require_once 'my-awesome-module/my-awesome-module.php';
    }
}
add_action( 'init', 'my_load_module_examples' );
As you may notice, we are adding our first module called my-awesome-module. On my-awesome-module/my-awesome-module.php we are going to add the code that will allows us to register and customize our plugin. So, add the following code
<?php

class MyAwesomeModule extends FLBuilderModule {
    public function __construct()
    {
        parent::__construct(array(
            'name'            => __( 'My Awesome Module', 'fl-builder' ),
            'description'     => __( 'A totally awesome module!', 'fl-builder' ),
            'group'           => __( 'My Awesome Plugin', 'fl-builder' ),
            'category'        => __( 'My Awesome Plugin base', 'fl-builder' ),
            'dir'             => MY_MODULES_DIR . 'my-awesome-module/',
            'url'             => MY_MODULES_URL . 'my-awesome-module/',
            'icon'            => 'button.svg',
            'editor_export'   => true, // Defaults to true and can be omitted.
            'enabled'         => true, // Defaults to true and can be omitted.
            'partial_refresh' => false, // Defaults to false and can be omitted.
        ));
    }
    public function example_method(){
        return "Hello World!";
    }
}

FLBuilder::register_module( 'MyAwesomeModule', array(
    'my-tab-1'      => array(
        'title'         => __( 'Tab 1', 'fl-builder' ),
        'sections'      => array(
            'my-section-1'  => array(
                'title'         => __( 'Section 1', 'fl-builder' ),
                'fields'        => array(
                    'my_field_1'     => array(
                        'type'          => 'text',
                        'label'         => __( 'Text Field 1', 'fl-builder' ),
                    ),
                    'my_field_2'     => array(
                        'type'          => 'text',
                        'label'         => __( 'Text Field 2', 'fl-builder' ),
                    )
                )
            )
        )
    )
) );

 ?>
The first section of the previous code define the class that our module will use. It extends from FLBuilderModule that is the base class that Beaver Builder uses on all its modules. In this class, you configure the module’s name, Icon, Group, etc. As well, you may define class methods that you may use to get information when rendering the module.
The second section is in charge of adding your module settings. These settings are the different options you module may offer when using it to create a page. There are several settings type that you may use; you may get the full list here.
Once we add this code, we may add our awesome module from the modules selector. Its configuration will look something like this.

Afterwards, we need to add some html in order to render our awesome module. For this, create a file my-module/includes/frontend.php and there add the html you require for your module. For this example, we are going to keep it simple.
<div class="fl-example-text">
    <h1><?php echo $settings->my_field_1; ?></h1>
    <p><?php echo $settings->my_field_2; ?></p>
    <span style="color:red"><?php echo $module->example_method(); ?></span>
</div>
As you may notice, all the settings fields that were registered are available using the $settings object. As well, we are able to call our custom module methods directly using the $module object. Once we add this code, we may add our module to our page using the page builder. Once we save it, it will look like this

And that’s it! we now have our first custom module. We may even add css, js or more html in order to customize it and make it work as we expect. You may find the complete guide here
In general, Beaver builder ease your development taking care of a lot of boilerplate that you can ignore, but also give you enough tools to be in control of the situation all the times in case you need it. As well, it lets you to add your own modules in a simple and easy to understand way. With this, to implement even the most complex design on your website will be a piece of cake for you and your team. So, give it a try!