
You do not need to start a react project from scratch as I explain in this article, for this you can use https://github.com/facebook/create-react-app, the exercise of this post is to know the webpack tool.
¿What is Webpack?
Webpack is a module packer that allows you to automate processes such as code transpilation, preprocessing (from .scss to .css).
¿How to install webpack?
In order to install webpack you must have node installed, you can install it with nvm https://github.com/creationix/nvm or from the official page https://nodejs.org/ downloading the package for your operating system; after having node installed, you should run the following command:
npm install -g webpack
or yarn global add webpack
In this way, you will have a webpack installed globally. To check that the webpack was installed correctly run webpack -v, this will show you the version you just installed.
Start with the project
First of all, we must create a folder to save the source code of our project.
For this article, my folder is going to be called webpack-example, however, you can use the name that you prefer.
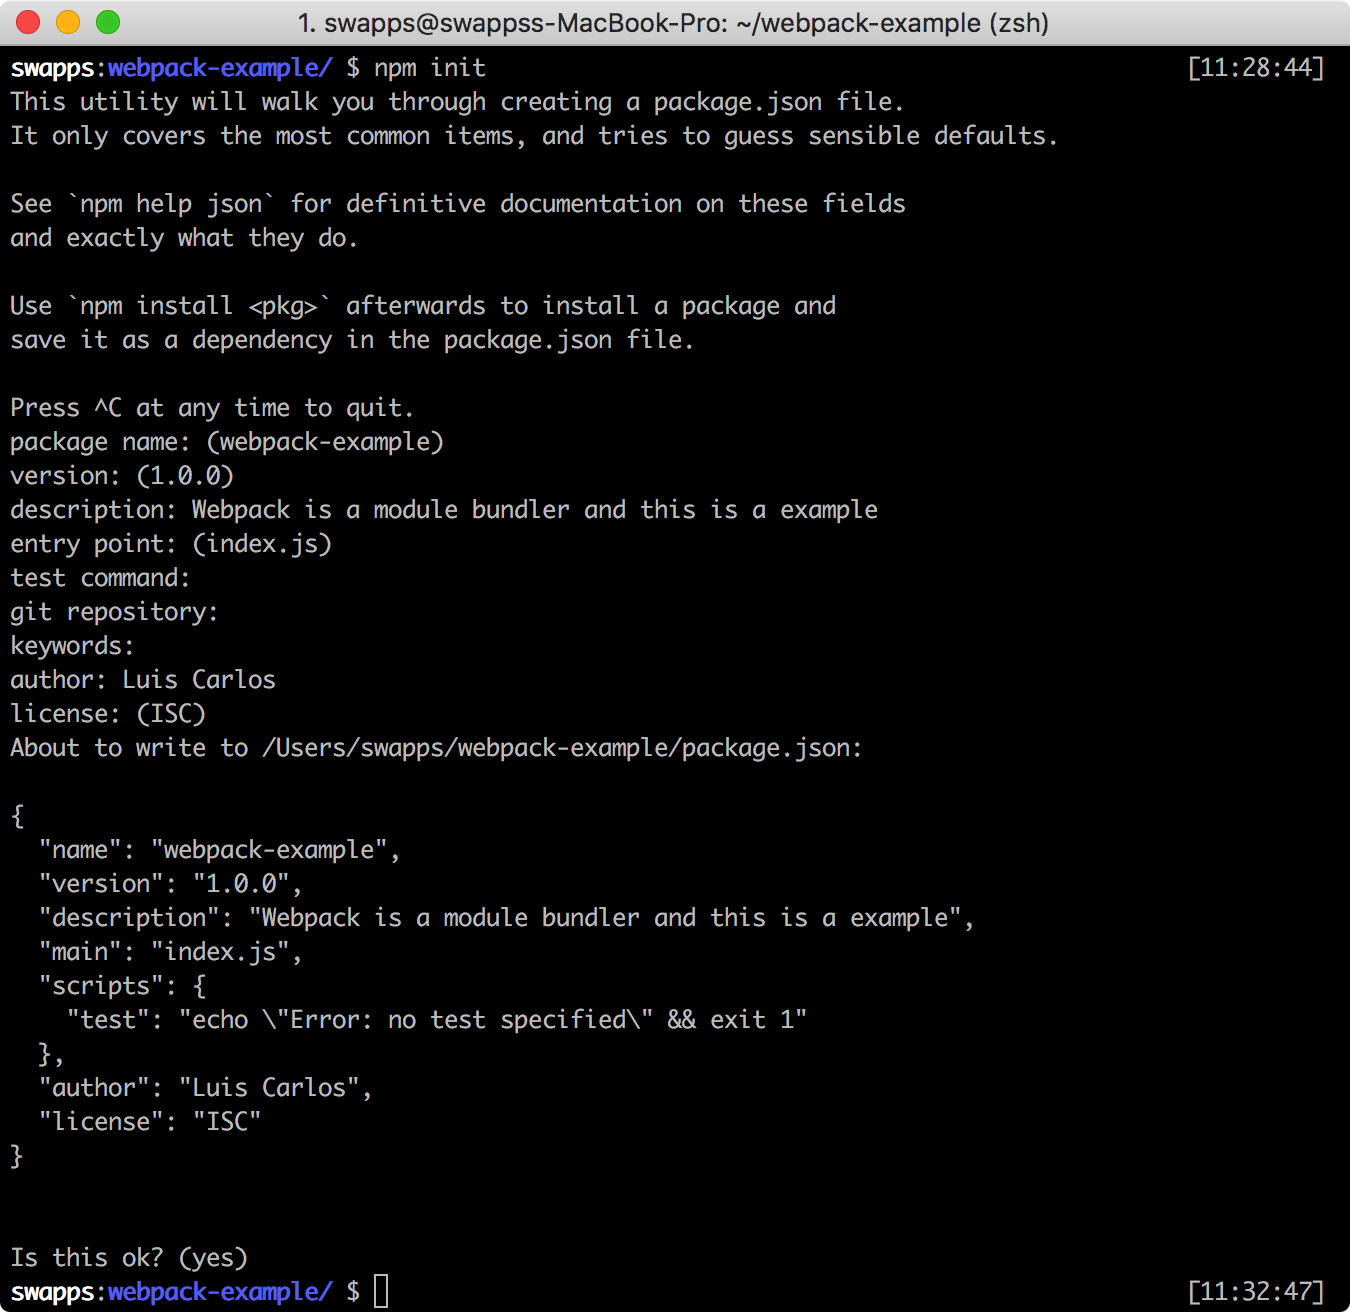
In a javascript project like the one we are configuring, it is essential to have a file package.json which is the file where we define both, the characteristics of our project and the packages that we are going to use. To create this file npm provides us with a fast and elegant way to achieve this, we just have to run the command npm init inside our folder and continue step by step filling the wizard requirements.
The packages we are going to use are: react react-dom
For this, we can use npm or yarn to install the packages with the following command:
npm install --save react react-dom ó yarn add react react-dom
{
  "name": "webpack-example",
  "version": "1.0.0",
  "description": "Webpack is a module bundler and this is a example",
  "main": "index.js",
  "scripts": {
    "test": "echo \"Error: no test specified\" && exit 1"
  },
  "author": "Luis Carlos",
  "license": "ISC",
  "dependencies": {
    "react": "^16.2.0",
    "react-dom": "^16.2.0"
  }
}
This is how our package.json looks after running the commands.
As we are talking about a project that uses the new functionalities of ECMAScript 6 so that the browser understands our code, we must use tools such as babel so that they convert our code into code that browsers can execute. For this, we are going to learn how to configure webpack loaders in the next step.
¿What are the Webpack Loaders?
Loaders are the transformations that the source code will have, in other tools such as gulp could be compared with tasks. For example, a loader of a file .scss takes care of uploading the file and turning it into .css through other packages as node-sass.
For this project, we only need one webpackloader which let us use as many as we need.
We are going to use https://github.com/babel/babel-loader. This loader let us convert the code .js ES-2017 to code that the majority of browsers can run.
To install this loader, we need to run the following command:
npm install --save-dev babel-loader babel-core babel-preset-env ó yarn add -D babel-loader babel-core babel-preset-env
{
  "name": "webpack-example",
  "version": "1.0.0",
  "description": "Webpack is a module bundler and this is a example",
  "main": "index.js",
  "scripts": {
    "test": "echo \"Error: no test specified\" && exit 1"
  },
  "author": "Luis Carlos",
  "license": "ISC",
  "dependencies": {
    "react": "^16.2.0",
    "react-dom": "^16.2.0"
  },
  "devDependencies": {
    "babel-core": "^6.26.0",
    "babel-loader": "^7.1.2",
    "babel-preset-env": "^1.6.1"
  }
}
This is how our package.json looks after running the commands.
A new item has been created “devDependencies”, in which all the development dependencies appear.
From now on, we already have the main requirements to run the project. In the next step we are going to create the webpack configuration files in which we tell webpack what to do to read our code and carry out all the necessary activities.
Configuration of the webpack.config.js file
Webpack reads the settings from the webpack.config.js file as we can see it in https://webpack.js.org/concepts/configuration/#the-simplest-configuration, it only takes one input and one output.
var path = require('path');

module.exports = {
  entry: './App.js',
  output: {
    path: path.resolve(__dirname, 'dist'),
    filename: 'app.bundle.js'
  }
};
In this configuration we are asking webpack to read the App.js file where we are going to have the react.js application and that when it does all its actions, create for us the app.bundle.js file in the dist folder.
We are only missing saying webpack to use babel because in our App.js we are using class which is one of the new functionalities of ES-2016. For this, we will configure babel-loader.
var path = require('path'); module.exports = { entry: './App.js', output: { path: path.resolve(__dirname, 'dist'), filename: 'app.bundle.js' },module: { rules: [ { test: /\.js$/, exclude: /(node_modules|bower_components)/, use: { loader: 'babel-loader', options: { presets: ['env', 'react'] } } } ] }};
And that’s how we finally have webpack configured for a react app.
You can see the source code here: