
Google Maps is one the most used maps tools in the web. It allows you to embed maps in your website or applications; search by geographic information such as coordinates, addresses, zip codes, etc; get places reviews, along with other options that makes it suitable to fulfill your needs. As well, being free made it very attractive and widely used.
However, since June 2018, Google Maps is no longer free. It will give you $200 free credit every month, that would be enough for a regular site, but it will charge you if you exceed this limit. I have written this quick guide to avoid surprises when using Google Maps. So, let’s start!
Set up your billing account.
Before anything else, Google will ask you to set up a billing account:
- Go to https://console.cloud.google.com/ and login into your Google account.
- On the left panel, there is a Billing option. Select it.
- Click on New billing account.
- Enter a name that you will recognize later. For example, if the billing account will use a corporate credit card, you may name it something like “my company billing account”.
- A form will appear requesting the billing information such as payment method, billing address, billing name, etc. Fill the form and save it.
- Once you save this form, your billing account should be enabled.
Your new billing account may not only be used for maps services, but also for all services offered by Google cloud.
Set up your project
In order to group different sets of active services, Google cloud uses projects. We would need at least one project to activate the maps services we may require later. So, let’s create it:
- Go to https://console.cloud.google.com/cloud-resource-manager/
- Click on create a project and set a name that you will recognize in the future. For example, the name of the app or the website that will use the services.
- Click on save.
One advantage of this approach is that you may grant permissions to different users to manage different aspects of your project.
Authorize the maps services you need
Aclaration: The following steps may require development knowledge. If you are not a developer, please ask for support to your webmaster.
Now, once you have your project and your billing information set up, you may start authorizing the different services that you may require on your website. For this, go to API & Services item on the left menu.
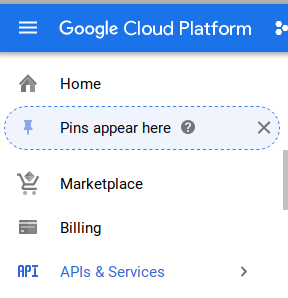
There you will see an enable api and services button. Click it.

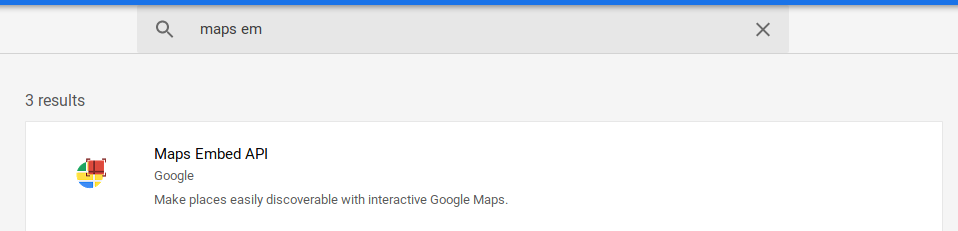
The API Library page will open. There, you may active any Google cloud service, not only maps service, such as machine learning, g suite, youtube, etc. You may select the service you require searching on its category or using the search directly. For example, we are going to activate the maps embed API.
1) First, search it.
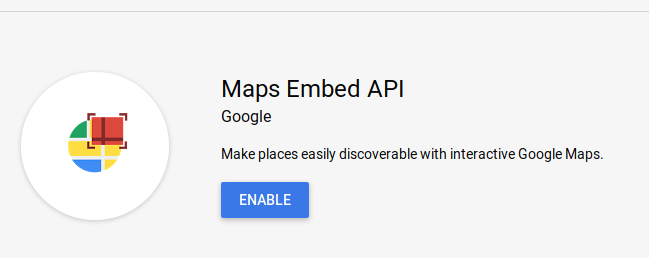
2) once you click on it, a detailed page will appear with the service’s overview, documentation, etc. click on enable to add the service to your project.
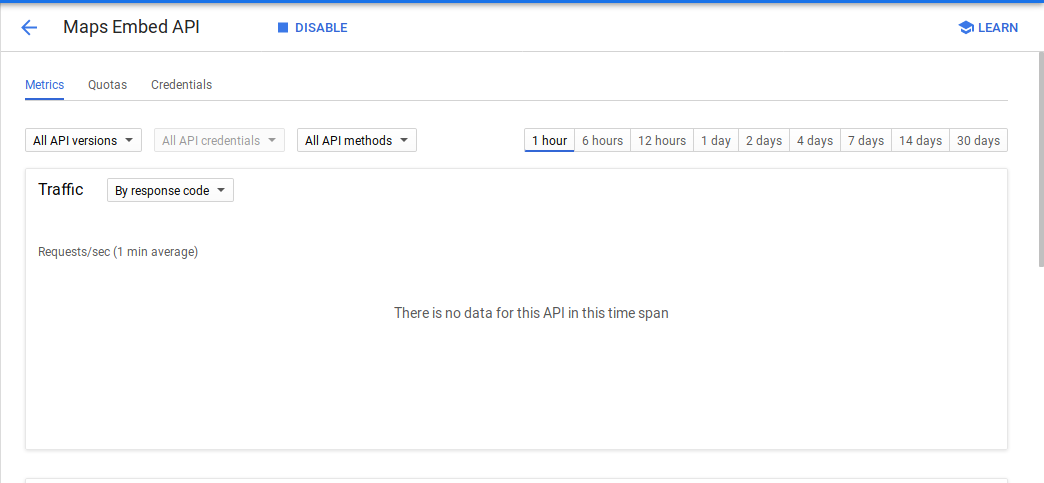
3) Once you have enabled the service, you will be redirected to the service’s dashboard. Here, you may get information about the service usage and other useful analytics.
4) Before using the service, you need to create an API key that is allowed to use this service. The keys are shared within a project, so you may use the same key for several services. To create the key, go to Credentials tab.
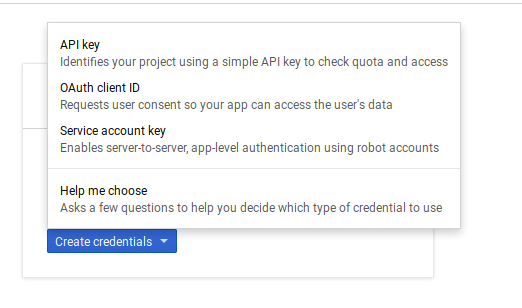
5) There, click on Create credentials. A sub menu with several options will appear. For this case, select API Key. You may use the other types of credentials depending on your needs; but that is beyond this blog post.
6) After creating the API Key, a modal will appear with the key value and two options: Close and Restrict Key. Considering that Google will charge you when using the API Key, the best approach is to restrict the API Key usage to authorize only your domain or your IP to use it. That way, if another site tries to use it, an error will be raised. The restrict page looks something like this.
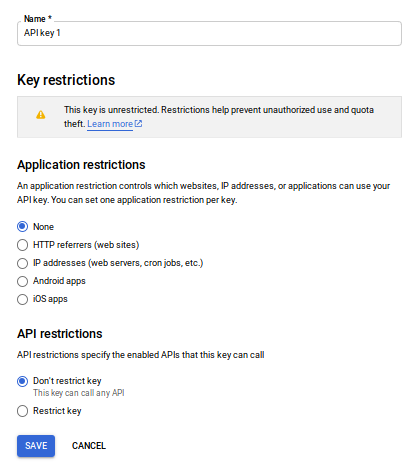
As you may see, you may select several application restrictions such as the ip and the domain. As well, you may restrict the APIs that this key may use. That way, if the key is used on other service, an error will be raised.
And that’s it! Now you are able to use the service you selected on your website. Please, make sure that you read the service’s documentation before start coding to avoid issues.
General recommendations to avoid unexpected charges.
Before finishing this blog post, I would like to give you some recommendations that I have found useful to reduce the invoices value at the end of the month. It is incredible how Google services get out of our control so fast and we end up paying a lot of money for things we did not even require.
- Analyze why you need a map and how the map is going to behave, and select the cheapest service that fulfills your needs. For example, when Maps service was free, it was very common to see maps javascript service used on a website to render a simple localization map; it looked cool and it was free, so a lot of us used it. However, now this is one of the most expensive services of Google Maps because it is designed to do much more that just render a simple map. If you need a simple map, just use Maps Embed API that will allow you to add an iframe with a marker on the location you need and it is much cheaper than the maps javascript API. In fact, the embed service is free, and it still fulfills your needs.
- Check the pricing table and be aware of how much each service costs. It is very important to know how much each service is going to cost; that way you may have an approximated end of month value using the average visits to your webpage. From this, you may decide if it is worth to use the service or if you need to check for alternatives.
- Read the documentation of each service. It is important to know how the service works and how to reduce its usage. Some services allow you to use sessions so you get only charged once even if your users use the service several times. As well, reading the documentation allows you to avoid loading the service several times, that may produce over charging.
- Limit your services and your billing. Google allows you to set a limit on how many times per month a service may be loaded and what is the top value your billing may reach. This is especially important to use on the first months of usage to avoid unexpected charges. Sometimes, it is better to disallow your users from using the map service the last day of the month than paying thousands of dollars for it.
- Limit the maps usage on your application. If you are using expensive services on your application, you may allow an anonymous user to use the service a couple of times on your site and then ask for registration. This will reduce the number of users that just play with the service without doing something significant for you on the app as well as reduce the impact produced by web crawlers.
- Cache the services you may cache. For example, if you are going to use the service to get reviews from a place, you may cache them daily or weekly. They do not change very often and you may reduce the amount of times you use the service in a month.
- Check that Google is actually giving you the $200 free credit each month. When checking your invoice at the end of the month, be sure that the $200 were added as credit before paying. If they are not in the invoice, contact Google support.
- Monitor you apps using its dashboard and take actions from it. Your project dashboard will give you a summary of how and when each service has been used on a selected time span. Use this information to take action, maybe to disallow an unused service, upgrade the limits that were set, etc. Make sure that you are always in control.
Google Maps is still an awesome service and it has a lot to offer, but it may get expensive if it is not handled carefully. I hope that this post helped you to ease the process of starting with Google Maps now that is is being charged without paying too much for it.