
One of the most used components in web design are slideshows. These elements allow us to display several pictures and other kinds of information in a compact and interactive way to our users. You may find them in almost all kinds of websites and for several purposes: display products and offers, show reviews and comments sent by other users, display pictures of a new project, etc.
Sadly, they are not natively supported by Drupal 8. For this reason, I will show you how to easily add slideshows support to your Drupal site to make it rock. For this blog post, we will create a slideshow with famous quotes that we will add to our sidebar. So, let’s start!
1. Install your Drupal site
I know it is obvious, but the first step is to install your Drupal site. For this tutorial purpose, the standard installation will work fine.
2. Install the Views Slideshow module
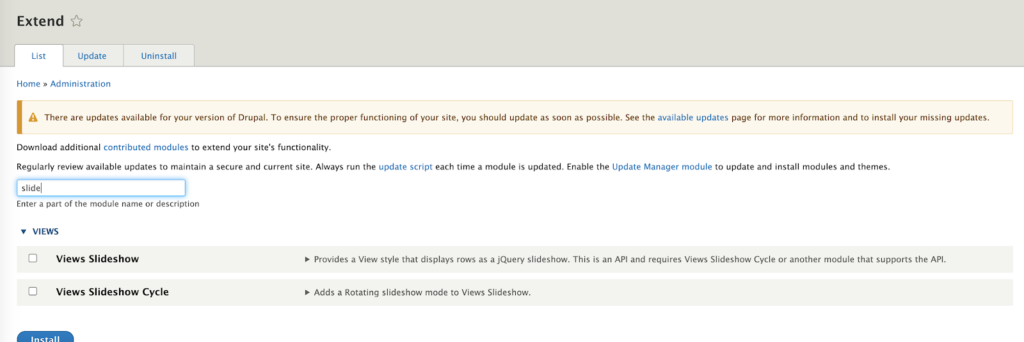
In order to support slideshows in our Drupal site, we will use the Views slideshow module. Go to https://www.drupal.org/project/views_slideshow in order to download it. Make sure you download the Drupal 8 version. Then, go to /admin/modules/install and upload the module.
You may also install it using drush.
After this, make sure the module is activated on your site. Go to /admin/modules and activate the two related modules:
3. Add required JS libraries
The Views Slideshow module requires some JS libraries to work as expected. Depending on what you are going to use, you may not need to install all of them. However, we will do it for educational purposes.
Note: If you installed the module using drush, it will handle JS dependencies automatically.
Views slideshow requires three JS libraries: jquery cycle, jquery hoverIntent and json2. You need to download them inside the libraries folder, adding a subfolder for each one, like this:

You may find these libraries following these links:
https://malsup.github.io/jquery.cycle.all.js
https://raw.githubusercontent.com/briancherne/jquery-hoverIntent/master/jquery.hoverIntent.js
https://raw.githubusercontent.com/douglascrockford/JSON-js/master/json2.js
If you are using a unix based OS, you may run the following command:
mkdir -p libraries/jquery.cycle && cd $_ && wget https://malsup.github.io/jquery.cycle.all.js && mkdir -p ../../libraries/jquery.hoverIntent && cd $_ && wget https://raw.githubusercontent.com/briancherne/jquery-hoverIntent/master/jquery.hoverIntent.js && mkdir -p ../../libraries/json2 && cd $_ && wget https://raw.githubusercontent.com/douglascrockford/JSON-js/master/json2.js
This command and more related information may be found in the module’s README.txt file.
4. Create a quotes content type
In order to populate the slideshow data, create a content type called quotes that we will use to add the famous quotes we want to show in our site. Go to admin/structure/types and click on add Content type. To ease this process for the blog post, we will use the title field as the quote field. Fill the add content type form like this:
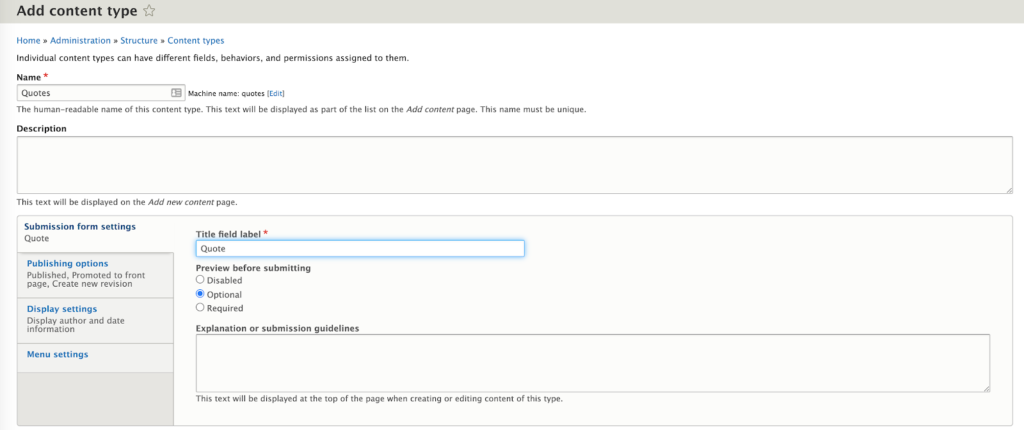
I recommend deactivating the Display author and date information setting although it is not necessary.
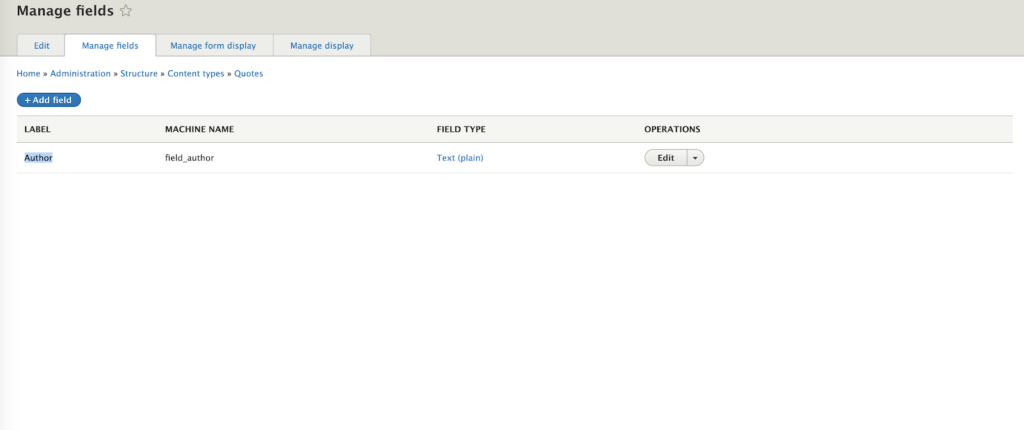
Once you have created the content type, remove the default `body` field and add an `Author` field to it. These should be your content type fields now:
Before continuing, make sure to add some quotes in order to make sure that your slideshow is working once you have finished this tutorial.
5. Create a basic slideshow view
As its name indicates, the views slideshow module allows us to create a view to display the slideshow we want. Go to admin/structure/views and click on add view. Then, use this configuration to create our view.
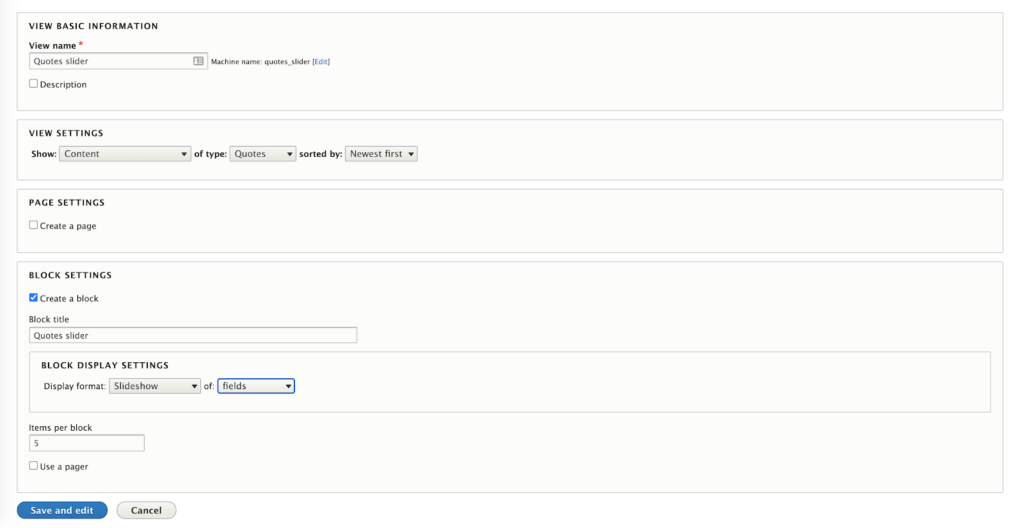
Considering we are going to add these quotes in our site’s sidebar, we are creating a block view. Make sure you select Slideshow as the display format and Quotes as the content type of the block. You may also set the number of quotes that will be displayed; for now, the default 5 is ok. Once your view is configured, click on “save and edit”
6. Configure your slideshow block view
Once you are in the block settings, select title and author as the fields to display. Make sure to select plain text on both of them and to deactivate the link to content on the title.

At the end of the page, you should see a preview of your slider. If everything is working fine, it should look something like this:

If you are having issues with the styling, you may need to update slides css settings. You may do it on the blocks settings page, clicking on Format -> Slideshow -> Settings. Deactivating Add views row classes should fix your issues.
You may play with other settings to customize your block. Once you have finished, save your configuration.
7. Add your new block to your site’s structure
We are almost done. We are only missing one detail: to display our block. For this, go to admin/structure/block and place your block in the region you want to. For our example, we will add it to our sidebar first. Simply search for the region, click on “Place block” and search your new quotes block. Once you are done, it should appear in your region.

And that’s it. After going to your site, you should see something like this:
In some simple steps, we were able to add a slideshow to our Drupal 8 site that allows us to handle its content via the admin interface. But this is just a simple example, using the Views Slideshow module, you may configure your block to retrieve any kind of content: images, urls, etc. You only need to add the content fields you want to use to your content type and configure your block view to retrieve them. The possibilities are limitless.
I hope this tutorial will help you to improve your Drupal site. If you have any questions, feel free to leave them in the comments section. Happy coding!